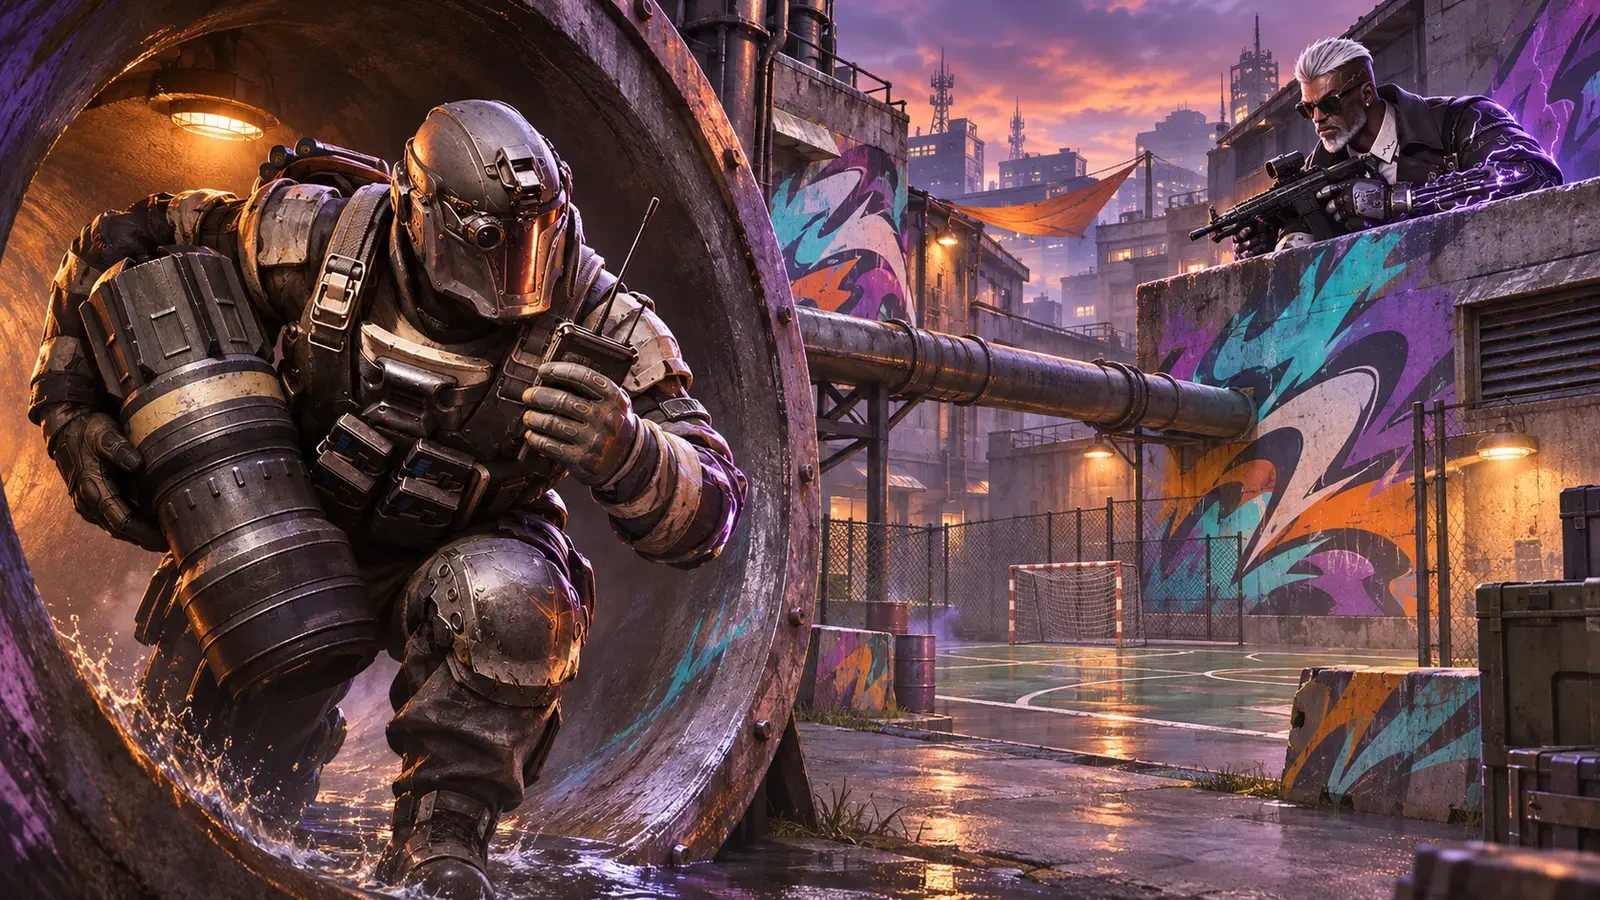
Graffiti District arrived in Blood Strike on November 5, 2026, as a compact urban battleground built around colourful walls, a neighbourhood football theme, and small connecting pipes. The official update added it to six different playlists, so learning the map is not simply a matter of memorising one objective. A route that is sensible in Team Deathmatch may be wasteful in Hot Zone, while a strong Weapon Master opening can become a trap once your weapon changes.
This guide turns the limited official information into a practical first-week learning plan. It separates confirmed facts from tactical recommendations, avoids pretending that unverified callouts or spawn diagrams are official, and shows how to build repeatable habits before the community settles on a fixed meta.
What Blood Strike officially confirmed
NetEase announced Graffiti District in the October 20 version update and scheduled the map for November 5. The official description calls it a vibrant, graffiti-filled neighbourhood shaped by graffiti culture and football. It also specifically warns players to notice the small connecting pipes and says that using them well can produce effective results.
The confirmed playlist list is unusually broad:
- SF - Strike Map Pack
- Hot Zone
- Arms Race
- Weapon Master
- Team Deathmatch
- Free For All
Those are the reliable map facts available from the official announcement. Any route advice below is a training recommendation based on normal arena-FPS principles and the announced pipe feature, not a claim about hidden mechanics, exact spawn timers, or guaranteed results.
Start with a three-layer mental model
New maps feel confusing because every wall competes for attention. Graffiti District makes that problem more noticeable: murals are useful landmarks, but their colour can also distract you from the route structure. Simplify the map into three layers during your first matches.
Layer one: open crossings
These are the exposed areas where multiple lines of sight can overlap. Do not treat an attractive mural or football-space landmark as automatic cover. Before crossing, identify the next solid object, check the most likely elevated angle, and decide whether you can retreat without turning your back on the threat.
Layer two: hard-cover lanes
Walls, corners, barriers, and building edges create the safer paths between fights. Move from one piece of hard cover to another instead of drifting through the centre. A short route with two safe pauses is often more useful than a theoretically faster sprint that exposes you for the whole distance.
Layer three: connecting pipes
The pipes are the map’s most distinctive confirmed feature. Think of them as route changers, not as permanent hiding places. A pipe can shorten a rotation or create an unexpected entry, but its narrow shape may also limit movement and make your exit predictable. Check both ends, listen for activity, and leave with a plan.
How to learn the pipes without feeding easy eliminations
A common first-day mistake is to enter every unusual route simply because it is new. A better process is to test one pipe at a time. Approach from cover, pause long enough to listen, then look at the exit before committing. If the exit is watched, back away rather than forcing a straight duel through a narrow opening.
Use this four-question pipe check:
- Where does it lead? Confirm the destination before you need it in a high-pressure fight.
- What can see the exit? Note nearby corners, windows, raised positions, and open ground.
- Can your team trade? If a teammate cannot support the exit, the shortcut may isolate you.
- What is the return path? Avoid routes that leave you trapped between an enemy and a blocked retreat.
Once you know a connection, vary your timing. Repeating the same pipe immediately after an elimination teaches opponents where to pre-aim. Sometimes the best use of a route is merely to threaten it, then rotate through a conventional lane.
Mode-by-mode plans for Graffiti District
Team Deathmatch
Prioritise survivable trades over dramatic flanks. Move with one teammate, clear the nearest dangerous angle, and avoid chasing a weak opponent so far that the enemy spawns behind you. If the pressure suddenly disappears from one lane, assume the fight may be shifting rather than sprinting deeper alone.
Hot Zone
Objective time matters, but piling the entire team onto one small area can hand the opponent an easy multi-elimination. Assign at least one player to watch an approach while the others contest. Pipes may help with retakes, yet a direct route is better when the objective is about to change hands and the detour costs too much time.
Free For All
Expect threats from every direction. Choose routes that let you clear one angle at a time and avoid lingering after a loud fight. Reload behind hard cover, not in the middle of a landmark. After an elimination, reposition a short distance so the next player does not find you at the exact same corner.
Arms Race and Weapon Master
Your ideal distance changes when your weapon changes. Do not keep forcing the same lane after moving from a close-range weapon to a slower or longer-range option. Use the first seconds after a progression step to identify the new weapon, then choose a lane that suits its handling instead of treating every stage like an SMG duel.
SF - Strike Map Pack
Use this playlist to build recognition rather than chasing a perfect score immediately. Pick one landmark, one safe crossing, and one pipe connection to study in each match. Repeating a small learning goal produces a usable map model faster than trying to memorise every corner at once.
Loadout thinking after the October weapon adjustments
The same official update that announced Graffiti District also changed several weapons. The MP7 received a moderate reload-speed increase, and its Heavy Trigger gained one point of damage to all body parts. The AUG received higher upper-chest damage and reduced damage drop-off. The Bizon gained a slightly faster reload, while its 32-round R.I.P. Drum received increased headshot damage and a reload-speed boost. The QBZ95 armour-piercing magazine shifted damage toward headshots while reducing chest, abdomen, and limb damage.
These changes do not create one guaranteed best weapon for the map. Instead, use them to ask better questions:
- Can you control the weapon while entering or leaving a narrow pipe route?
- Does your chosen lane give the weapon enough room to use its preferred range?
- Are you reloading safely, or relying on the animation finishing before an exposed enemy appears?
- If an attachment rewards headshots, is your crosshair placement consistent enough to benefit?
Balance can change after publication. Check Blood Strike’s in-game balance announcement and the latest official patch notes before copying a build from any guide.
A 20-minute first-match practice routine
You do not need hours of custom study to improve. Use a short routine across normal matches and adjust it to the mode you receive.
Minutes 1–5: landmark recognition
Name three visual anchors in your own words. Keep the names simple and descriptive. The goal is not to create official callouts; it is to communicate quickly with your squad and remember which direction you approached from.
Minutes 6–10: pipe exit checks
Test one connecting pipe from both directions when it is safe. Notice what hard cover is available at each exit and where an opponent could hold an angle. Do not repeatedly sacrifice a match just to complete the exercise.
Minutes 11–15: crosshair discipline
Keep your crosshair at likely upper-body height while moving between corners. Avoid aiming at the floor during a sprint. When the next opponent appears, less vertical correction means you can focus on recoil and movement.
Minutes 16–20: one route review
After the match, recall one successful rotation and one failed entry. Ask whether the difference came from timing, support, cover, or weapon range. Change one habit in the next game instead of blaming the entire loadout.
Example scenario: a disciplined Hot Zone retake
Illustrative example, not a real match report: A four-player squad reaches a contested Hot Zone. Two teammates are tempted to enter the closest pipe together. Instead, one player checks the pipe exit while another holds the conventional lane. The remaining pair waits behind hard cover until they hear the enemy commit utility and gunfire toward the pipe.
The pipe player does not rush. They show brief pressure, pull back, and let the lane pair advance while attention is split. The fourth player watches the team’s retreat route. The retake succeeds because the squad created two timed threats and preserved support, not because a pipe guaranteed a flank. If the exit had been fully covered, abandoning that route would have been the correct decision.
Common mistakes to avoid
- Following murals instead of cover: use visual art as a landmark, but move according to safe geometry.
- Stacking inside a pipe: teammates in a narrow route can block one another and make the exit predictable.
- Repeating the same flank: an unexpected route becomes expected after opponents see it twice.
- Ignoring the current weapon: Arms Race and Weapon Master punish players who use every stage at the same distance.
- Chasing away from the objective: an elimination is less valuable if it gives up Hot Zone control.
- Inventing certainty from one match: spawn flow and opponent behaviour vary; review several games before declaring a route safe.
Graffiti District FAQ
When did Graffiti District launch?
The official October 20 update announcement scheduled Graffiti District for November 5, 2026.
Which Blood Strike modes include the map?
The official list names SF - Strike Map Pack, Hot Zone, Arms Race, Weapon Master, Team Deathmatch, and Free For All.
Are the connecting pipes always the best route?
No. They can create useful connections, but their exits may be watched and their narrow shape can limit movement. Evaluate timing, support, and the destination before committing.
What is the best weapon for Graffiti District?
There is no officially confirmed single best weapon. Choose according to the mode, lane distance, your recoil control, and the current balance patch. In progression modes, be ready to change your route when your weapon changes.
Where can I verify future map or weapon changes?
Use the official Blood Strike version update, the official update archive, and the in-game balance announcement.
Final checklist before you queue
- Learn one safe crossing before trying multiple flanks.
- Check both ends of a pipe and identify nearby hard cover.
- Match your route to the current mode and weapon.
- Move with trade support in team modes.
- Reposition after loud fights instead of holding the same corner.
- Review official patch notes when balance changes.
Graffiti District rewards curiosity, but disciplined curiosity is the real advantage. Test routes, record what you learn, and change one decision at a time. That approach will remain useful even after the first-week surprises disappear.
Top Up Your Favourite Games
If you're looking for a trusted place to top up your favourite games including Free Fire, PUBG Mobile, Mobile Legends, Blood Strike, and Call of Duty, visit HTGTopUp.com for fast digital game top-up services. Website: https://htgtopup.com.