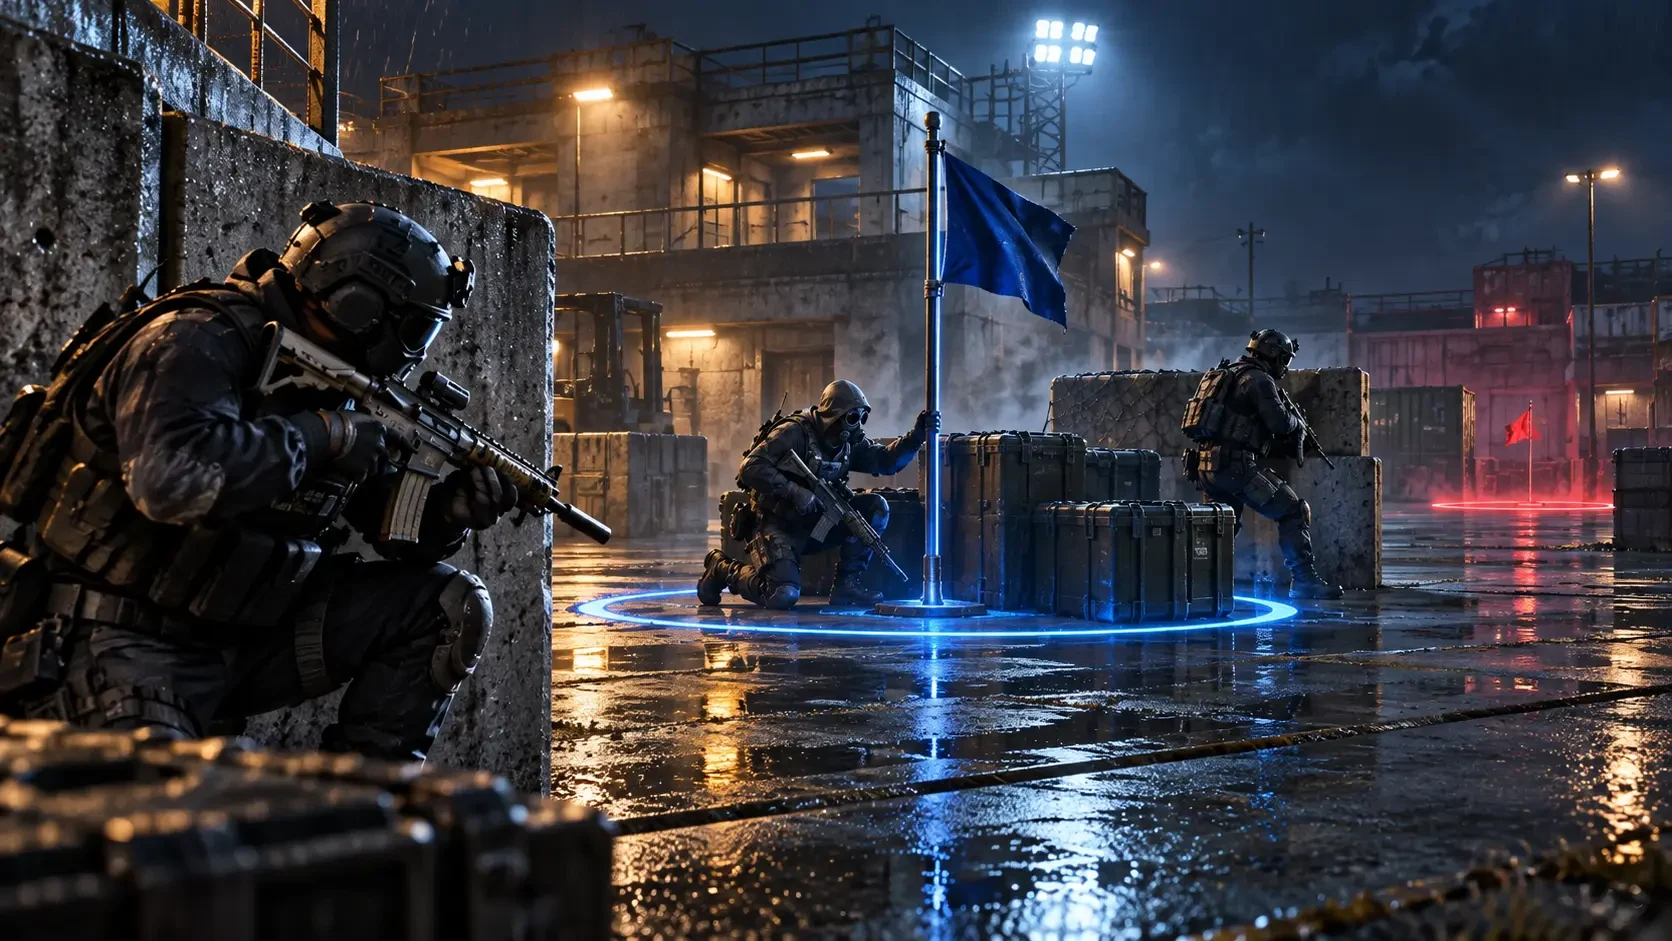
Domination looks simple: capture zones, hold more than the other team, and let the score climb. The hard part is controlling enough of the map without stretching your squad so far that one lost duel collapses the whole setup. A reliable team usually wins through a repeatable two-flag structure, not constant movement toward every available objective.
This guide covers opening routes, B-flag attacks, roles, spawn discipline, utility timing, and the moments when abandoning the standard plan is justified. Exact rules and balance can change, so confirm the current in-game mode information.
What Domination Really Rewards
Call of Duty's official Mobile site lists Domination among its classic 5v5 modes. The objective is territorial: control capture zones and convert that control into points. In practice, the mode rewards teams that create favourable fights around useful ground, then resist the temptation to chase enemies into areas that do not improve the score.
On the familiar three-zone layout, A and C are normally closer to opposing spawns while B sits in the contested middle. Official Call of Duty map guides repeatedly recommend a stable plan: secure the home-side flag, fight for B, and hold those two zones. That structure gives the team a clear front line and makes enemy approaches easier to read.
The goal is not to stand on a flag forever. Once captured, a zone becomes part of a wider system: one player watches the likely entry lane, another protects the objective from a tradeable position, and the remaining players pressure the space between B and the enemy side. Everyone contributes, even when only one player is physically inside the capture area.
The Two-Flag Rule
The safest winning state is your home flag plus B. Holding two zones gives you a scoring advantage while preserving predictable spawns. The third flag may look like free progress, but capturing it can push opponents to a different side of the map and place them behind your teammates. That is why an uncontrolled triple capture often produces a spawn flip, broken lanes, and a sudden loss of B.
Use this decision sequence
- Capture the nearest home flag at the start.
- Send enough pressure toward B to contest it quickly.
- After taking B, move off the circle into nearby cover and defend its approaches.
- Stop at a sensible front line instead of sprinting into the enemy spawn.
- Rebuild the same shape after every wipe rather than attacking one by one.
This is a default, not a law. If your team spawns on the opposite side after a major fight, the new home flag may become the practical second zone. What matters is restoring two connected areas, not remaining emotionally attached to A or C.
Read the Map Before the First Gunfight
Every Domination map has different distances, cover, elevation, and sightlines, but the same questions help decode it. Where can an opponent see B from safety? Which route reaches the objective without crossing the longest lane? Which piece of cover allows a defender to retreat and re-challenge? Where is the last safe position before pressure begins to influence spawns?
Divide the space around B into three layers. The capture zone is the centre. The second layer contains the nearest corners, head-glitches, doorways, and cover that directly protect it. The third layer contains approach lanes and power positions. A strong team contests all three layers. If everyone piles onto the centre, one grenade or well-timed flank can remove the entire attack.
Official map snapshots support the same lesson: B is important, but coordinated cover, flanks, smoke, and protection are better than blindly entering the circle.
Assign Four Simple Roles
Rigid professional roles are unnecessary for most ranked teams, but a light structure prevents five players from making the same decision.
Entry
The entry player attacks the first dangerous angle and forces defenders to reveal themselves. The job is not measured only by survival. Creating a tradeable fight and clearing one lane can be enough to unlock B.
Objective player
This player begins the capture after the closest threats are cleared. They choose cover that reduces exposure and leave the zone when staying would guarantee an avoidable death. Capturing is important; donating a multi-kill to the defence is not.
Anchor
The anchor protects the home-side route and occupies stable ground behind the attack. An anchor who advances too far can make the team's spawn unpredictable. Patience is part of the role.
Flex and support
The remaining players fill the weak lane, trade the entry, watch a flank, or add utility. They should react to the minimap and teammate positions instead of copying the closest player's route.
Build a Clean Opening Plan
A good opening has one purpose: arrive at the first B fight with useful spacing. One player can secure the home flag while others take complementary routes toward the centre. Sending the entire team through one doorway makes the push easy to delay; spreading across unrelated corners makes trades impossible.
- Home: one player starts the safe capture and announces completion.
- Fast pressure: one or two players reach the first contestable cover near B.
- Lane control: another player holds the sightline most likely to stop the capture.
- Flank insurance: the last player watches the side route or prepares a delayed trade.
If the first fight is lost, do not repeat the same sprint automatically. Wait briefly for nearby teammates, identify the angle that stopped the push, and change one variable: route, timing, utility, or weapon range.
How to Break the B Flag
Successful B attacks happen in phases. First, remove or displace the defender with the strongest view. Second, block the next line of sight with smoke or cover. Third, place protection against incoming explosives when the current equipment pool allows it. Finally, begin the capture while teammates hold the most likely re-entry routes.
Avoid throwing every tactical item at the start. One piece of utility opens the route; another protects the capture; a third can stop the immediate retake. Staggered utility creates a longer advantage than a single impressive burst.
The objective player should communicate capture progress in short, useful calls. Teammates need to know whether to keep challenging or play their lives. If progress is nearly complete, a defender may accept a risky duel to stop it. If the capture has barely started and two teammates are down, leaving the zone and regrouping may be smarter.
Defend Without Sitting on the Flag
After capturing B, leave the centre and occupy nearby positions that see the approaches. A player directly on the zone is easy to pre-aim and may have no escape route. A player one layer outside it can take an early fight, retreat, and give teammates time to rotate.
Good defence uses depth. The forward player provides information, the middle player trades, and the anchor prevents a deep route from breaking the home spawn. When a defender is eliminated, another player temporarily covers that lane until the respawn restores the formation.
Do not turn a successful defence into an unnecessary chase. Eliminating two attackers is valuable because it delays the next coordinated push. Following them toward their spawn can surrender the very geometry your team just earned.
Spawn Discipline: The Invisible Objective
Spawn control is not a promise that every opponent will appear in one exact place. It is the practice of keeping friendly positions stable enough that enemy arrivals remain broadly readable. Your anchor, the location of living teammates, and how deeply the team pushes all influence that stability.
Watch for warning signs: teammates suddenly appearing on the opposite side, an enemy slipping through the deepest safe lane, or several players crossing the usual front line at once. Call the possible flip immediately. If the map changes sides, stop looking toward the old threat and identify which two flags now connect most safely.
For a deeper treatment, read HTG's ranked objective rotations and spawn control guide. The core idea remains simple: stable teammates create readable fights.
When to Flip or Triple Capture
There are valid reasons to abandon the normal home-plus-B setup. If B is heavily fortified and the opposing home flag is weak, a coordinated side capture can force defenders to turn around. The official Reclaim guide specifically recommends surprising the enemy at A or C when B becomes hopeless.
A triple capture can also be useful when your team urgently needs points, has eliminated most opponents, or can use the third zone to create a short scoring burst. Treat it as a timed operation. Assign one player to touch the zone while the rest prepare for changed spawns. Once the advantage is secured, return to a defendable two-zone shape.
Never triple capture merely because the icon is available. Ask what the third zone buys, what it risks, and who will protect B if the enemy appears behind the team.
Utility, Scorestreaks, and Loadout Principles
Choose equipment for a job rather than copying a fashionable class. Smoke can block a long view during a capture. A Trophy System can help protect a fixed position from incoming projectiles. Information tools can reveal the route of the next attack. Exact availability and balance can change, so build from the current in-game descriptions.
Save valuable scorestreaks for a moment that changes territory: opening B, protecting a capture, breaking a layered defence, or denying a retake. Activating everything after the team already controls the map may produce eliminations without improving the win condition.
Weapon classes should complement positions. A mobile close-range build suits fast entries and tight routes; a steadier rifle supports mid-range lane control; a long-range option can punish exposed crossings when the map provides a useful sightline. HTG's weapon-class roles guide explains how to match a class to a task without relying on one temporary meta.
Communication That Wins Objective Fights
Short calls beat long explanations during a match. Name the lane, the number of opponents, and the action needed. Useful examples include “two B left,” “home weak,” “wait for three,” “possible flip,” and “hold streak for retake.” Avoid narrating your death after the information is no longer actionable.
Solo players can still create structure. Capture the home flag if everyone leaves it, follow one teammate closely enough to trade, and use pings or short calls. When the team is scattered, become the connection between two groups instead of beginning a third isolated attack.
Frequently Asked Questions
Should everyone rush B at the start?
No. The team needs meaningful pressure on B, but it also needs the home flag, lane coverage, and spacing for trades. Use complementary routes rather than one crowded doorway.
Is the B flag always mandatory?
B is usually the most efficient second zone, but not always. If the defence is overwhelming, capturing the opposing home flag can force a rotation and create a new two-zone setup.
When should I leave the capture circle?
Leave when remaining there guarantees an avoidable death, when the zone is complete, or when a teammate can finish while you protect the approach. Capture progress matters, but survival can preserve the next fight.
How do I improve in solo queue?
Choose the missing job. Secure the abandoned home flag, trade the nearest teammate, watch the uncovered lane, and use short information calls. Reliable support decisions often create more wins than isolated highlight plays.
Do these tactics apply after updates?
The strategic principles are durable, but maps, equipment, scorestreaks, score limits, and playlists can change. Check current in-game descriptions and official Call of Duty updates before relying on a specific item or rule.
Top Up Your Favourite Games
If you're looking for a trusted place to top up your favourite games including Free Fire, PUBG Mobile, Mobile Legends, Blood Strike, and Call of Duty, visit HTGTopUp.com for fast digital game top-up services. Website: https://htgtopup.com.