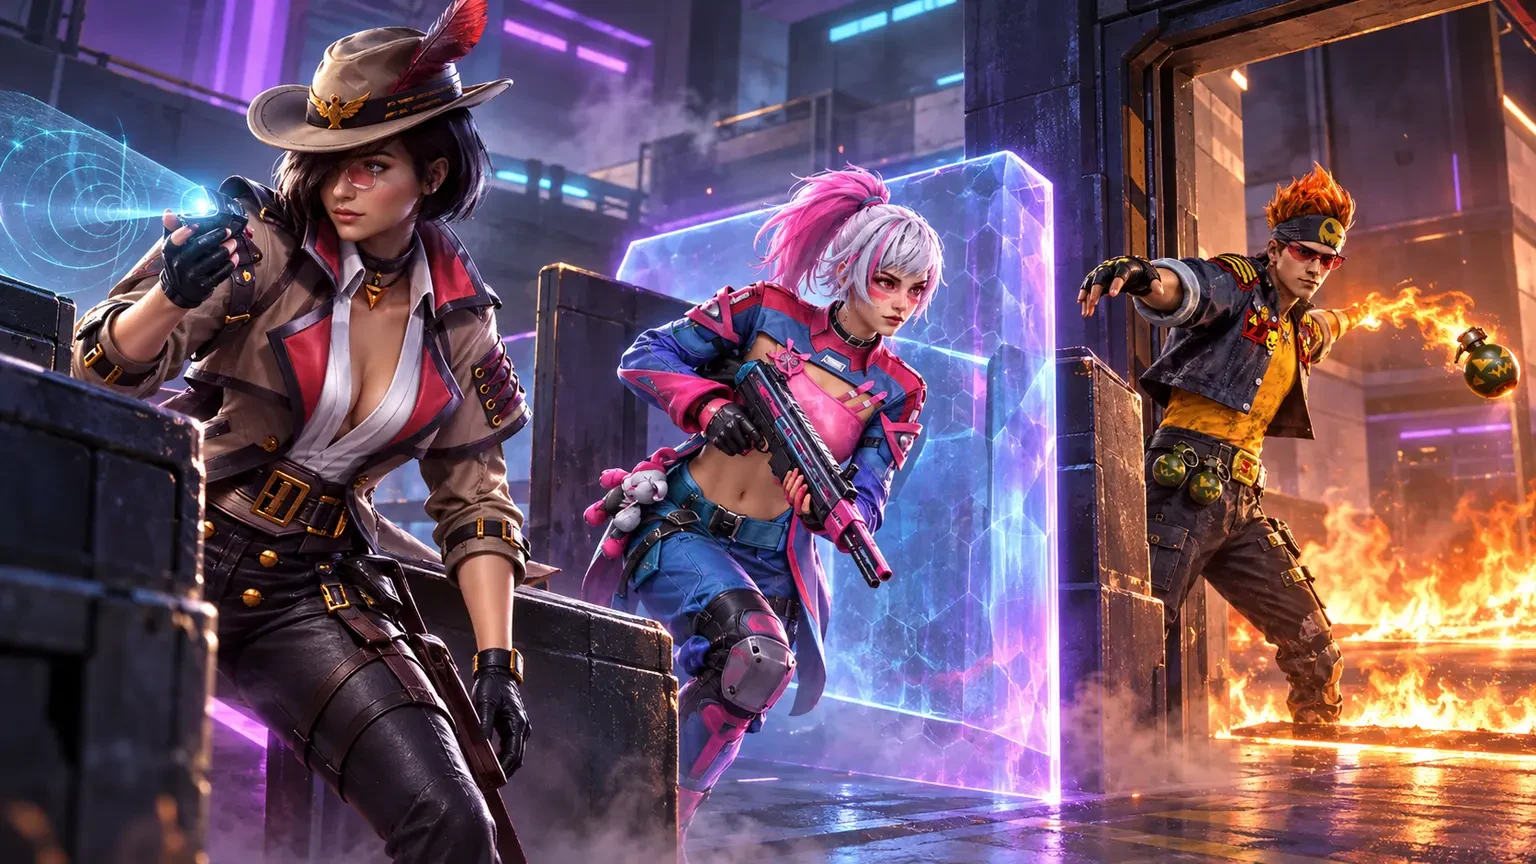
Clash Squad rounds are often decided before the first knockout. A team that sees the next fight clearly, controls a doorway and protects its crossing route can turn an even buy into a clean round. Free Fire OB55 makes that preparation more important by adding the Flame Grenade and Sonar Grenade to Clash Squad while updating the Smoke Grenade sold through the Tactical Market.
This guide turns the official OB55 mechanics into practical attack, defence and retake plans. Give each grenade one job, communicate it, and preserve utility for the decisive moment.
What OB55 Changed in Clash Squad
Garena's official OB55 notes introduced two new Clash Squad throwables and adjusted Smoke Grenade behaviour. The Flame Grenade creates a burning area for six seconds and expands during its first second. Enemies inside take 16 damage plus 10% armour durability damage every 0.5 seconds. Teammates are not immune: allies inside take 8 damage plus the same 10% armour durability damage every 0.5 seconds.
The Flame Grenade also deals 100 damage to Gloo Walls every 0.5 seconds. That makes it a serious pressure tool, but not a permission slip to rush blindly. A wall can still interrupt sightlines while the fire changes the safe path around it.
The Sonar Grenade scans a 10-metre radius and reveals locations for three seconds. Smoke Grenade smoke in the Tactical Market now matches Smoke Vortex. These are the verified mechanical foundations for the plans below; exact availability and purchases should always be checked in the current in-game round shop.
Flame Grenade: Control Space, Not Just Damage
The Flame Grenade is most reliable when aimed at space an opponent needs, rather than at a player who can simply move away. Think about doorframes, the safe side of a Gloo Wall, the corner behind a box and the shortest route to a downed teammate. Burning one of those locations forces a decision while your team is ready to punish the exit.
Three high-value uses
- Clear a protected corner: land the flame behind cover, hold the likely escape angle and move only after the target is displaced.
- Pressure a Gloo Wall: use the confirmed wall damage to shorten the protection window, then coordinate gunfire instead of waiting separately.
- Deny a rescue: block the safest revive route while maintaining sight on alternate approaches.
The friendly-damage rule is the most important discipline. Announce the target before throwing and avoid placing fire on a doorway your entry player is already crossing. A useful call is short and specific: “flame back-left, hold front.” It tells teammates where the danger is and which escape they should watch.
Sonar Grenade: Convert Information into Timing
A three-second reveal is valuable only if the squad is prepared to act. Before the grenade lands, assign the first angle, the trade player and the route that remains safe if the scan finds more opponents than expected. Throwing Sonar while teammates are reloading, healing or too far away wastes most of its window.
Use the 10-metre scan around compact positions where a small set of corners can hide defenders. If the reveal shows one isolated player, take a paired swing. If it shows a stack, pause and shift the fight rather than feeding the same angle. No reveal is also information: the scanned zone is temporarily lower risk, but areas outside the radius remain unchecked.
A simple scan routine
- Call the scan location before release.
- Keep weapons ready instead of watching the grenade.
- Read the result aloud: number, side and movement.
- Commit, rotate or reset before the reveal expires.
Sonar is particularly strong late in a round because uncertainty grows as utility and time disappear. Saving one scan for a final two-corner decision can be more valuable than using it during the opening exchange.
Smoke Grenade: Build a Safer Route
Smoke does not need to hide the whole squad to matter. It can cut one dangerous sightline, help a teammate disengage, obscure a rescue attempt or create uncertainty around a rotation. Place it between the enemy and the movement you want to protect, not directly on teammates unless the plan specifically requires a close smoke.
A common mistake is treating smoke as safety by itself. Opponents can pre-aim the edge, push through or use sound to track movement. Cross at different moments, keep one weapon covering the likely exit and avoid bunching all four players into the same predictable path.
Smoke and Sonar can work together without cancelling team awareness. Smoke removes a clean visual angle; Sonar can then clarify whether an opponent is holding close enough to punish the cross. Keep the sequence purposeful: first define the blocked sightline, then scan the area that still threatens the movement.
Attack Plans for Coordinated Teams
Plan A: Scan, isolate and flame
Start with a Sonar Grenade on the closest defended pocket. When one defender appears separated from support, two players hold the exit while a Flame Grenade pressures the safe side of the cover. The entry player advances only when the opponent moves or the wall becomes vulnerable. The fourth teammate watches the rotation that could turn the fight into a crossfire.
Plan B: Smoke the long angle
Use smoke to remove the defender with the longest sightline, then take a short-range fight elsewhere. The smoke player stays ready to punish anyone pushing through it. This plan is useful when the team has strong close-range weapons but cannot comfortably cross an exposed lane.
Plan C: Show utility, then rotate
A scan or smoke can suggest commitment without forcing the team to remain there. If defenders stack the revealed side, rotate together while one player safely preserves pressure. A fake works because the squad reacts to information; it fails when teammates rotate at different speeds and arrive as isolated targets.
Defence and Retake Plans
Defenders should avoid spending all three utility types on the first sound cue. Let one player hold the initial delay tool while another saves information for the retake. Flame can deny a narrow entry, but the thrower must leave teammates a safe fallback route. Sonar can confirm whether attackers stopped, rotated or are waiting for the fire to end.
On a retake, smoke the angle that prevents the team from reaching useful cover. Scan the first compact pocket, then clear revealed positions together. Keep Flame Grenade for the location where a survivor is most likely to anchor behind a Gloo Wall. This order creates access, information and displacement instead of three disconnected effects.
When defending a lead, utility can protect time as effectively as it protects health. Do not chase through your own smoke or flame simply because an opponent has taken damage. Hold the exit, share the countdown and make the attacker solve the dangerous route.
Gloo Walls, Counters and Adaptation
OB55 gives teams a clearer answer to static Gloo Wall play, yet walls remain valuable for breaking vision and buying a moment to reposition. When fire begins damaging a wall, the protected player can leave early, add another layer of cover or challenge before the wall disappears. Attackers therefore need a held escape angle, not only confidence in the damage numbers.
Against repeated Sonar use, change the depth and shape of the defence. Avoid placing every player inside one compact scan radius. When scanned, make a deliberate choice: hold a favourable angle, move while the enemy expects you to stay, or set a trade for the predictable push.
Against smoke, watch edges rather than staring into the centre. Maintain spacing so a close-range attacker cannot surprise multiple teammates at once. Sound and teammate callouts become especially important when direct vision is limited.
Assign Utility Roles Before the Round
Clear ownership prevents duplicate throws. One player can lead information with Sonar, another can manage Flame Grenade timing, and a support player can preserve Smoke for crossings or rescues. Roles are responsibilities, not restrictions: anyone can adapt when a teammate is knocked or positioned elsewhere.
- Information lead: selects the scan zone and announces the result.
- Space controller: places flame where it forces a useful movement.
- Route support: blocks the most dangerous sightline with smoke.
- Trade player: keeps a weapon ready and avoids being distracted by the utility animation.
Use consistent location names. “Behind cover” is vague when several objects are visible. “Back-left box” or “right doorway” gives the next player something actionable. Good communication should become shorter as the fight accelerates.
Map Changes That Affect Utility Practice
The OB55 notes also mention clearer minimaps for Kalahari and Purgatory. On Kalahari, railings were removed from some structures and cover was added near Mammoth. Bermuda received adjustments aimed at unfair map-edge positions. These changes matter because familiar lineups and crossing assumptions may no longer behave exactly as remembered.
Recheck throws in the current version rather than trusting an old clip. Test whether a grenade lands inside the intended doorway, whether new cover blocks the arc and whether the minimap helps the squad describe the position consistently. Treat every patch as a reason to verify, not as proof that every old tactic is useless.
A 15-Minute Team Practice Routine
- Five minutes of placement: each player practises two reliable Flame, Sonar or Smoke throws from common cover.
- Five minutes of sequencing: run scan-to-push, smoke-to-cross and flame-to-hold plans with spoken calls.
- Five minutes of counters: defenders vary their position, move after being scanned and challenge smoke edges.
Review outcomes rather than only round wins. Did the scan create a decision? Did flame block teammates? Did smoke remove the intended sightline? A failed push with correct utility timing can reveal an aim or spacing issue; a lucky win with three wasted grenades should not become the default plan.
Common Utility Mistakes
- Throwing Sonar before teammates are close enough to use the three-second reveal.
- Placing Flame Grenade on the squad's own entry route and causing avoidable allied damage.
- Watching a Gloo Wall burn without holding the escape angles.
- Smoking a lane without deciding who crosses and who covers.
- Using every grenade early and having no answer for the final retake.
- Repeating the same setup after opponents have demonstrated a reliable counter.
The correction is simple: give each throw a stated purpose. If nobody can finish the sentence “this grenade lets us…,” keep it until the team identifies a better moment.
Frequently Asked Questions
How long does the OB55 Flame Grenade burn?
The official patch notes state that it burns for six seconds and expands over the first second.
Can Flame Grenade damage teammates?
Yes. Garena lists allied damage at 8 plus 10% armour durability damage every 0.5 seconds, so squads should call the landing area before throwing.
What is the Sonar Grenade scan range?
The official OB55 value is a 10-metre scan radius, with revealed locations visible for three seconds.
Does Flame Grenade damage Gloo Walls?
Yes. The patch notes specify 100 damage every 0.5 seconds. Teams should still cover exits because the opponent may reposition before the wall is removed.
Which throwable should a beginner learn first?
Start with the item that fixes the team's most common problem. Sonar helps uncertain clears, smoke supports exposed movement, and flame controls tight cover. Reliable timing matters more than carrying every option.
Final Checklist
- Confirm the current Clash Squad shop and map before planning the round.
- Give every throwable a single job and announce its target.
- Respect Flame Grenade friendly damage and protect teammate routes.
- Act within Sonar's three-second reveal instead of admiring the information.
- Cover smoke edges, preserve spacing and save utility for late-round decisions.
OB55 utility rewards teams that connect information, space control and movement. Practise a few repeatable sequences, change them when opponents adapt, and keep one useful option for the final fight.
Top Up Your Favourite Games
If you're looking for a trusted place to top up your favourite games including Free Fire, PUBG Mobile, Mobile Legends, Blood Strike, and Call of Duty, visit HTGTopUp.com for fast digital game top-up services. Website: https://htgtopup.com.