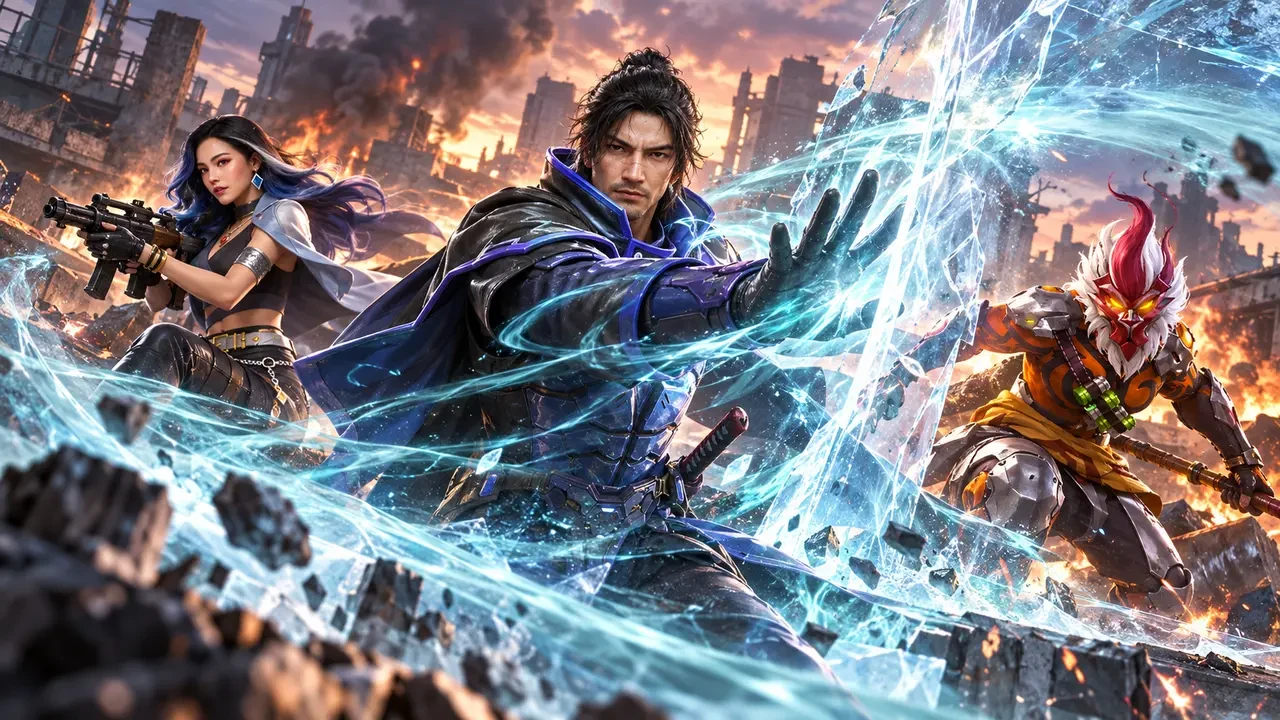
Free Fire’s OB55 balance update gives character selection a fresh tactical layer. Kenta receives a complete skill rework built around a moving tempest, teleportation and temporary damage reduction, while Morse, Luna and Wukong receive targeted adjustments. These changes arrive alongside the new Clash Squad season on October 1, 2026, so players have a clear reason to review their presets before entering ranked matches.
This guide explains the official numbers, what each change means in practical fights, and how squads can test new combinations without overreacting after a single match. The goal is not to declare an instant best character. It is to help you understand the jobs these abilities can perform and make better decisions around timing, cover and team roles.
OB55 Character Changes at a Glance
Garena’s official OB55 patch notes describe one complete rework and three direct balance adjustments. Kenta is the central change because his active skill now creates an offensive path through Gloo Walls and offers a follow-up teleport. Morse and Luna are reduced in specific areas, while Wukong receives a shorter cooldown.
- Kenta: launches a fast tempest that passes through Gloo Walls, lasts eight seconds and deals 25 damage to enemies it hits. Activating the skill again teleports Kenta to the tempest and grants five seconds of 20% damage reduction. The cooldown is 45 seconds.
- Morse: the range at which aim assist can trigger against him during stealth increases from four metres to 12 metres. His maximum stealth duration drops from 15 seconds to 13 seconds.
- Luna: her rate-of-fire bonus falls from 8% to 5%. Her conversion of rate of fire into movement speed after landing a hit remains unchanged.
- Wukong: his transformation cooldown decreases from 90 seconds to 75 seconds.
These are precise adjustments rather than a universal reset. Existing fundamentals still matter: isolate angles, share information, protect revives and avoid spending every active skill before the decisive fight.
How Kenta’s New Tempest Works
Kenta’s rework changes him from a largely defensive pick into a flexible initiator. The first activation sends a fast-moving, swirling tempest forward. Because it can pass through Gloo Walls, it can pressure positions that normally stop direct lines of fire. An enemy touched by the tempest takes 25 damage, which is useful for forcing movement or softening a target rather than finishing a healthy opponent by itself.
The second activation is the key decision. Kenta teleports to the tempest’s current location, the tempest disappears, and he gains 20% damage reduction for five seconds. That creates a compact three-part sequence: send the tempest, read the opponent’s reaction, then decide whether the teleport is safe and valuable.
Why the eight-second window matters
An eight-second duration gives Kenta time to gather information before committing. You do not need to teleport immediately. Letting the tempest travel can reveal whether enemies retreat, stack behind another wall or expose themselves to your teammates. The longer you wait, however, the more time opponents have to prepare for your arrival.
Treat the second activation as an option, not an obligation. If the destination becomes crowded, exposed or separated from your squad, allow the skill to end instead of turning mobility into an avoidable knockdown.
Best Uses for Kenta in Battle Royale
Breaking a Gloo Wall standoff
When two squads trade from behind Gloo Walls, Kenta can send the tempest through the barrier to create pressure beyond the visible frontline. The damage may make a defender reposition, but the bigger value is uncertainty. Your squad can use that moment to widen angles, throw utility or move to stronger cover.
Do not teleport blindly through a wall. First confirm where at least two opponents are, identify a solid landing cover and make sure a teammate can trade if you are challenged. Passing through protection does not remove the danger on the other side.
Crossing a short exposed gap
The teleport can help Kenta move past a dangerous lane, while the five-second damage reduction helps him survive the immediate response. This works best for short, planned transfers between real cover. It is less reliable as a desperate charge across open ground, especially when several enemies can focus the landing point.
Creating a rescue angle
If a teammate is knocked behind contested cover, Kenta can use the tempest to approach from a less obvious direction. The squad should still suppress the enemy first. The damage reduction is temporary, so Kenta needs a clear follow-up: secure the space, deploy protection if available, then start the revive only when the angle is controlled.
Using Kenta in Clash Squad
Clash Squad compresses fights into smaller spaces, which makes each activation easier for opponents to read but also gives Kenta clearer destinations. His skill can challenge a Gloo Wall setup, cross a lane or begin a coordinated site entry. Because the cooldown is 45 seconds, most rounds reward one deliberate activation more than an early speculative use.
A simple round plan
- Locate the anchor: identify the opponent holding the safest cover or controlling the main lane.
- Create a second threat: have a teammate pressure from another angle before Kenta launches the tempest.
- Track the destination: keep the landing point close enough for teammates to support with fire.
- Teleport on a reaction: commit when an enemy reloads, retreats or turns toward your teammate.
- Use the shield window: take the necessary duel, claim cover and avoid chasing beyond squad support.
OB55 also adds Flame Grenades and Sonar Grenades to Clash Squad. These tools can complement an entry plan: Sonar Grenades reveal enemies within their official 10-metre scan radius for three seconds, while Flame Grenades can deny a route and damage Gloo Walls. Teams should coordinate utility instead of stacking every resource on the same position.
Kenta Team Compositions and Roles
Kenta fits best when the squad understands that he is opening space, not fighting alone. Pair him with roles rather than chasing a fashionable list of names. A balanced setup can include one initiator, one information source, one sustain option and one reliable damage dealer.
- Initiator: Kenta creates the first displacement and chooses whether to teleport.
- Information: a teammate marks positions, watches flanks and confirms whether the destination is safe.
- Support: a nearby player protects Kenta’s approach, carries revival resources and holds the escape route.
- Follow-up damage: the final teammate punishes opponents who turn to face the tempest.
The most important requirement is distance. If Kenta is too far ahead, the squad cannot trade. If everyone follows the exact same path, one explosive or crossfire can stop the push. Use the tempest to create width and timing, not to compress the whole team into one doorway.
What the Morse and Luna Adjustments Mean
Morse has a wider counterplay zone
Morse remains a stealth-based flanker, but opponents receive more help at close range. Aim assist can now trigger within 12 metres during stealth rather than four metres, and his maximum stealth duration is two seconds shorter. Morse players should avoid treating stealth as permission to run directly through an enemy’s close-range awareness.
Use cover, sound and off-angles to reach a favourable distance before the final approach. Defenders should still communicate. The larger aim-assist range helps in close encounters, but it does not replace watching flanks or predicting escape routes.
Luna keeps mobility conversion with less fire-rate gain
Luna’s rate-of-fire bonus drops from 8% to 5%, reducing part of her general combat power. Her defining conversion remains: after landing a hit, the rate-of-fire effect converts into movement speed. Players should lean into accurate opening shots and purposeful repositioning instead of expecting the passive bonus to win a straight damage race.
When evaluating Luna after the patch, separate weapon performance from character performance. Changes to multiple weapon classes arrive with the October 1 Clash Squad season, so a different recoil pattern or engagement range can influence results as much as the three-percentage-point skill adjustment.
How Wukong’s Shorter Cooldown Changes Ambush Timing
Wukong’s transformation cooldown falls from 90 seconds to 75 seconds. The 15-second reduction gives him more opportunities to hide, reset and prepare another ambush during a longer Battle Royale match. It does not guarantee multiple uses in every short engagement, and careless transformation near observant enemies can still fail.
Wukong players should plan around the next fight rather than activating the skill whenever it becomes available. Use the shorter cooldown to support rotations, break visual tracking or prepare a new angle after disengaging. Squads facing Wukong should mark suspicious cover, maintain crossfire and avoid chasing alone through uncertain terrain.
A Practical OB55 Testing Routine
Balance changes feel different across devices, control layouts and squad styles. A structured test produces better conclusions than a handful of emotional ranked games.
- Warm up the mechanics: practise Kenta’s first and second activation until the travel timing feels predictable.
- Test one variable: keep the same weapon and teammates while changing only the character or engagement plan.
- Record the outcome: note whether the skill created space, secured cover or led to an unsupported entry.
- Review cooldown discipline: check whether you used the ability too early or saved it until the round was already lost.
- Repeat against different teams: evaluate results across open lanes, buildings and Gloo Wall-heavy fights.
For Kenta, track successful teleports rather than raw skill damage. A successful use can force an opponent away, help the squad cross safely or create a trade even when the tempest itself deals little damage.
Common Mistakes to Avoid
- Teleporting without information: the skill crosses Gloo Walls, but Kenta still needs a safe landing plan.
- Overvaluing damage reduction: 20% reduction for five seconds improves durability; it does not make Kenta invulnerable.
- Sending the tempest too early: a premature activation warns the enemy before teammates are ready.
- Ignoring the escape route: every aggressive teleport should end near cover or a position the squad can defend.
- Judging balance from one weapon: OB55 changes character skills and weapon-class behaviour, so test several realistic situations.
Final Preparation Checklist
Before entering ranked play, update the game, read the in-game skill description and confirm that your preset saved correctly. Build a simple callout for Kenta’s sequence, such as “tempest out,” “holding teleport” and “committing.” That gives teammates enough information to follow without crowding his path.
The strongest lesson from the OB55 changes is role clarity. Kenta gains a more active identity as a space-making fighter. Morse must approach stealth flanks with greater care. Luna keeps her movement conversion but loses some universal fire-rate power. Wukong receives more frequent transformation opportunities. Players who understand those purposes will adapt faster than those who copy a preset without a plan.
Top Up Your Favourite Games
If you're looking for a trusted place to top up your favourite games including Free Fire, PUBG Mobile, Mobile Legends, Blood Strike, and Call of Duty, visit HTGTopUp.com for fast digital game top-up services. Website: https://htgtopup.com.