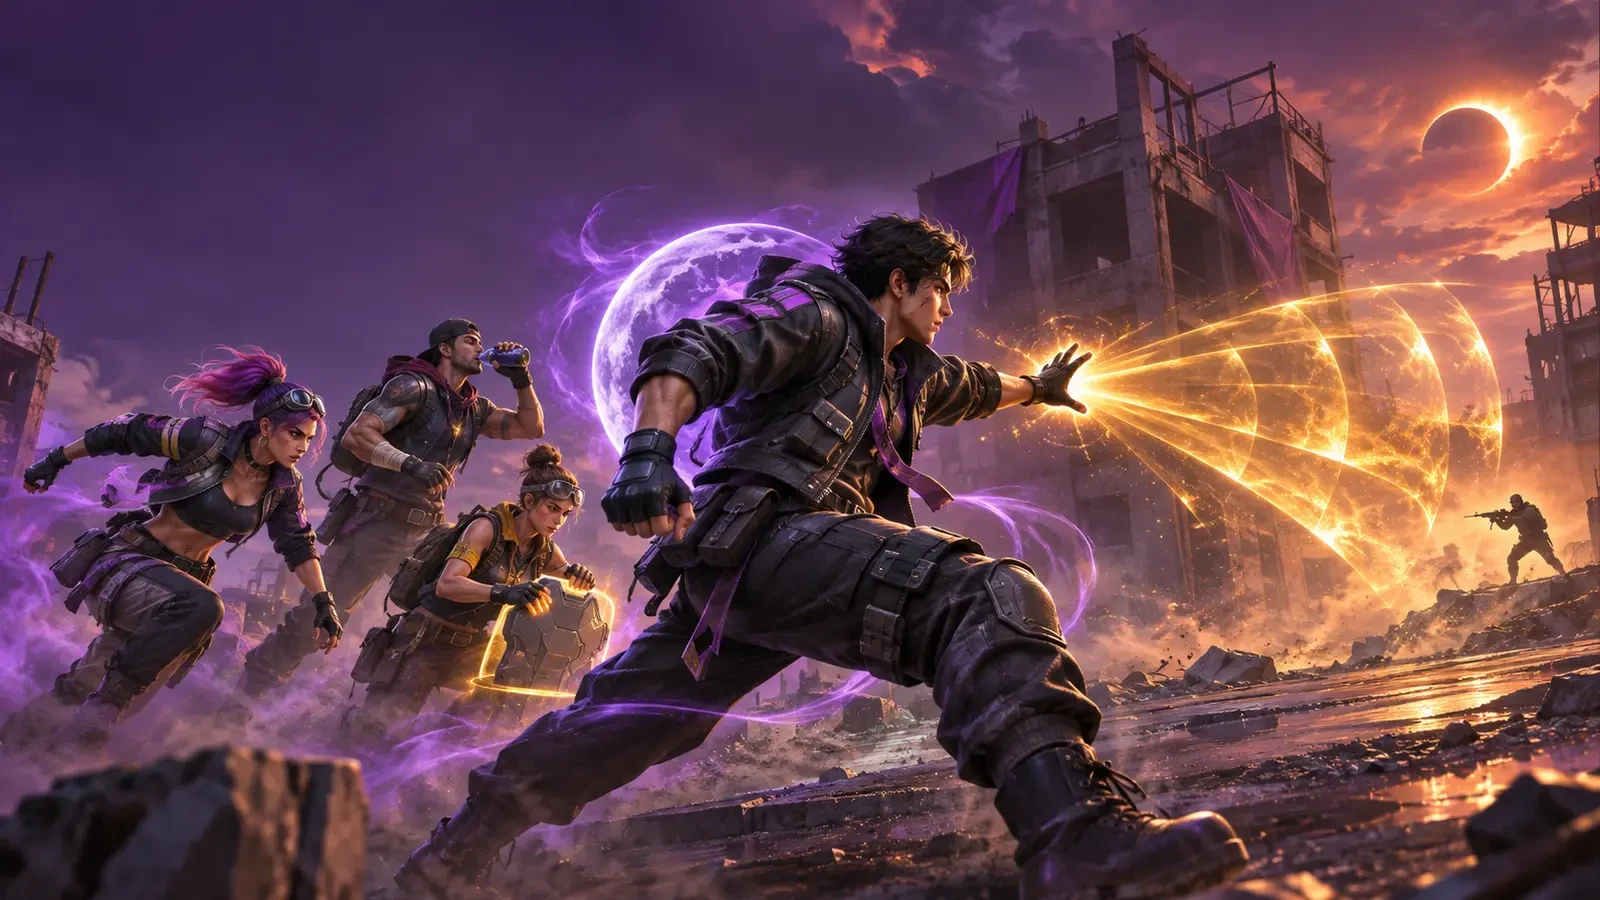
Ray is built for players who like to turn one clean opening into a complete squad advantage. His active skill, Bond of Eclipse, does not replace aim, movement, or timing. It rewards all three. Used well, it marks a vulnerable opponent, creates a short finishing window, and can prepare Ray to pressure the next target without waiting through a full cooldown.
This guide translates Garena's current skill rules into practical Battle Royale and Clash Squad decisions, helping you recognise when an activation is worth committing.
What Bond of Eclipse Does Now
Garena's current Ray character page describes a 30-metre fan-shaped release of sunpower. It tags the first undowned enemy hit for 10 seconds and creates a link that is visible within 40 metres only to Ray and the tagged opponent.
If Ray reduces that tagged enemy to 30 HP or lower during the mark, the enemy is knocked down immediately. When the marked target is knocked or eliminated while tagged, moonpower resets the skill and restores Ray's HP at 10 per second for three seconds. The listed cooldown is 45 seconds.
The launch notes for OB53 originally described a 40-HP trigger, while the live character page now lists 30 HP. That difference matters. For current planning, use the live character page and the description shown inside your game client rather than relying on an older launch graphic or video.
- Shape: a forward fan, so camera direction and line choice matter.
- Target: the first undowned enemy caught, not necessarily the opponent you hoped to mark.
- Window: 10 seconds to convert information and damage into a knock.
- Payoff: an immediate knock at the stated HP threshold, followed by healing and a skill reset when the tagged target falls.
The Three Decisions Behind a Good Activation
1. Choose the target before pressing the skill
Ray is least reliable when fired into a crowded doorway with no target priority. Because the skill tags the first undowned enemy hit, a healthy front player can absorb the mark while the low-HP opponent escapes behind them. Briefly reposition until the fan has a clean lane to the enemy you can realistically finish.
Listen for recent damage, watch who stops to heal, and note which opponent has already spent a Gloo Wall. The best target is not always the closest one. It is the enemy whose cover, health, and escape route give your squad a believable ten-second conversion.
2. Confirm your follow-up damage
Activating without a loaded weapon or a safe angle wastes the mark. Reload first, settle your crosshair, and make sure you can remain in range. A shotgun can punish a close corner, an SMG can track a moving target, and an assault rifle can finish a damaged opponent crossing open ground. The right weapon is the one that suits the distance you already have.
3. Plan the second fight
The reset is Ray's momentum engine. Before committing, identify the cover you will use after the knock and the next opponent your team can pressure. The post-knock healing is useful, but it is not permission to stand in the open. Break sight, let the recovery work, then decide whether the refreshed skill should be used immediately or saved.
A Simple Ten-Second Conversion Plan
- Prepare: reload, select the correct weapon, and move to an angle where the intended target is first in the fan.
- Tag: activate only when you can begin dealing damage quickly. Do not spend half the mark climbing, swapping weapons, or chasing through several rooms.
- Pressure: use short, accurate bursts at range or controlled close-range movement. Your job is to reach the threshold safely, not to empty a magazine as fast as possible.
- Call: tell teammates which enemy is marked and where that player is moving. Ray alone sees the link information described on the official page, so communication turns private information into squad value.
- Reset: once the target falls, take cover, check your health, and reassess. A refreshed skill is valuable only if the next activation has a clean purpose.
In solo play, replace the voice call with discipline: keep the marked opponent centred, avoid switching to a different healthy target, and do not chase beyond your available cover. A ten-second window is long enough for a planned push and short enough to punish hesitation.
Battle Royale: Use Ray to Isolate, Not Overextend
Battle Royale adds longer sightlines, third parties, vehicles, uneven terrain, and uncertain enemy resources. Ray works best when the squad has already created a local advantage. A cracked defender behind a single Gloo Wall is a stronger opportunity than a fresh enemy squad holding a compound.
Good Battle Royale moments
- An enemy leaves cover to rotate while the zone or your squad limits the return path.
- Your teammate lands significant opening damage and can maintain vision.
- A defender is separated from the other three players by terrain, a doorway, or staggered movement.
- You have nearby cover for the post-knock heal and a clear plan for the counter-push.
Moments to hold the skill
- The fan will likely catch a different front player.
- The target can disappear into a vehicle, portal, or deep multi-room building before you can follow.
- A third squad is already shooting your position.
- Your weapon is empty, your team is split, or the safe zone forces an immediate rotation.
Ray rewards decisive aggression, but good aggression starts with an exit. If the conversion fails, return to cover before the mark expires instead of turning one missed opportunity into a squad wipe.
Clash Squad: Build the Round Around Information
Clash Squad gives Ray shorter routes and more predictable contact points. That makes target order especially important. Do not send the fan through the first doorway merely because the round has started. Use sound, teammate pings, and early utility to learn which opponent is isolated or already damaged.
Garena's OB55 notes added Flame and Sonar Grenades to Clash Squad and changed Smoke Grenades. A Sonar Grenade can help your team locate enemies behind cover, while flame can deny an area and damage Gloo Walls. These tools can help create a clean lane, but they do not guarantee Ray's mark. Keep the skill aimed at the specific undowned target you want first in the fan.
Round economy also matters. If your current purchase leaves you without a reliable follow-up weapon, play for information rather than forcing a hero push. Ray becomes more consistent when your loadout, utility, and teammate spacing all support the same target.
Character Combinations That Support Ray's Job
Garena's OB53 launch notes suggested Jota, Dasha, and Shani as examples alongside Ray. Treat those suggestions as roles rather than a single compulsory preset, because the best combination depends on mode, weapon choice, and current balance.
Jota: close-range sustain
Jota fits players who convert Ray's mark with SMGs or shotguns and want more survivability during repeated close fights. The practical idea is simple: use Ray to create the finishing window, then use your sustain tools to remain functional as the next opponent arrives.
Dasha: movement and weapon control
Dasha suits aggressive players who need cleaner movement through the ten-second window. She is most useful when you already understand your chosen weapon's recoil and are improving how quickly you move from cover to a firing lane.
Shani: armour-oriented recovery
Shani supports longer chains of combat by helping with armour durability through her own skill rules. That can complement Ray's HP recovery after a successful conversion. It does not make a reckless push safe; it simply improves the resources available after a disciplined win.
Always read each current in-game skill description before locking a preset. Character values can change between patches, and an old build video may no longer reflect the live client.
Training Drills That Produce Real Improvement
The clean-fan drill
In Training Grounds or low-pressure practice, place two targets at slightly different angles. Move until the intended target is clearly first inside your imagined fan. Repeat from doorways, stairs, and uneven ground. The goal is to make target selection deliberate rather than accidental.
The ten-second clock
Use a simple count while practising: activate, engage, then stop at ten. Notice how much time is lost to reloading, climbing, weapon switching, and poor pathing. Improve one delay at a time. This drill teaches you to activate closer to the moment of contact.
The reset pause
After every successful knock, force yourself to pause behind cover for one quick scan. Check health, ammunition, teammate positions, and the nearest threat. This prevents the refreshed skill from becoming a reason to sprint blindly into the next crossfire.
Common Ray Mistakes
- Marking the tankiest visible enemy: target priority is more important than convenience.
- Activating too early: distance travelled during the mark steals time from actual damage.
- Tunnel vision: the marked player can bait Ray into another squad's firing lane.
- Ignoring Gloo Walls: prepare an angle or utility plan rather than assuming the skill removes cover.
- Counting on healing before the knock: the recovery follows a successful tagged knock or elimination; it is not an opening shield.
- Using old numbers: verify the current character page and in-client description after updates.
Example Scenario: Turning a Split Defence Into Momentum
Illustrative example, not a report from a real match: A four-player squad approaches a small compound. One defender peeks a side wall and loses health to your teammate, while the other defenders remain inside. Ray reloads before moving, shifts left so the damaged player is the first opponent in the fan, and activates Bond of Eclipse only when the firing lane is open.
The squad calls the same target and avoids spreading damage. Ray maintains cover between bursts instead of running straight at the wall. The marked defender falls within the window. Ray steps back for the recovery, checks for a third party, and uses the refreshed skill only after a second defender crosses the doorway.
The lesson is not that Ray guarantees two knocks. The first knock came from prior damage, clean target order, coordinated fire, and a safe post-knock position. The reset merely rewarded a plan that was already sound.
Frequently Asked Questions
Does Bond of Eclipse automatically knock a full-health enemy?
No. The current official description requires the tagged enemy to be reduced to the listed low-HP threshold during the mark.
Can Ray tag multiple enemies at once?
The official wording identifies the first undowned enemy hit by the fan. Plan around one priority target rather than expecting a multi-target mark.
Why did an older guide mention 40 HP?
Garena's OB53 launch notes listed 40 HP, while the current character page lists 30 HP. Check the live in-game description for the version you are playing.
Is Ray better in Battle Royale or Clash Squad?
He can work in both. Battle Royale rewards isolation and third-party awareness; Clash Squad rewards precise lane selection, purchases, and coordinated utility.
Should I activate as soon as I see an enemy?
Usually not. First confirm the intended target, a loaded follow-up weapon, a safe damage angle, and cover for the aftermath.
Official Sources and Final Checklist
This guide uses Garena's current Ray character page, the OB53 patch notes that introduced Ray, and the OB55 patch notes for the current Clash Squad utility context.
- Can the fan reach the intended first target?
- Is your weapon loaded and appropriate for the distance?
- Can your team focus the same opponent?
- Do you have cover for the post-knock recovery?
- Will you stop the chase if the conversion becomes unsafe?
Ray is strongest when the activation is the start of a prepared sequence, not a substitute for one. Practise the angle, protect the ten-second window, and make every reset earn a fresh decision.
Top Up Your Favourite Games
If you're looking for a trusted place to top up your favourite games including Free Fire, PUBG Mobile, Mobile Legends, Blood Strike, and Call of Duty, visit HTGTopUp.com for fast digital game top-up services. Website: https://htgtopup.com.