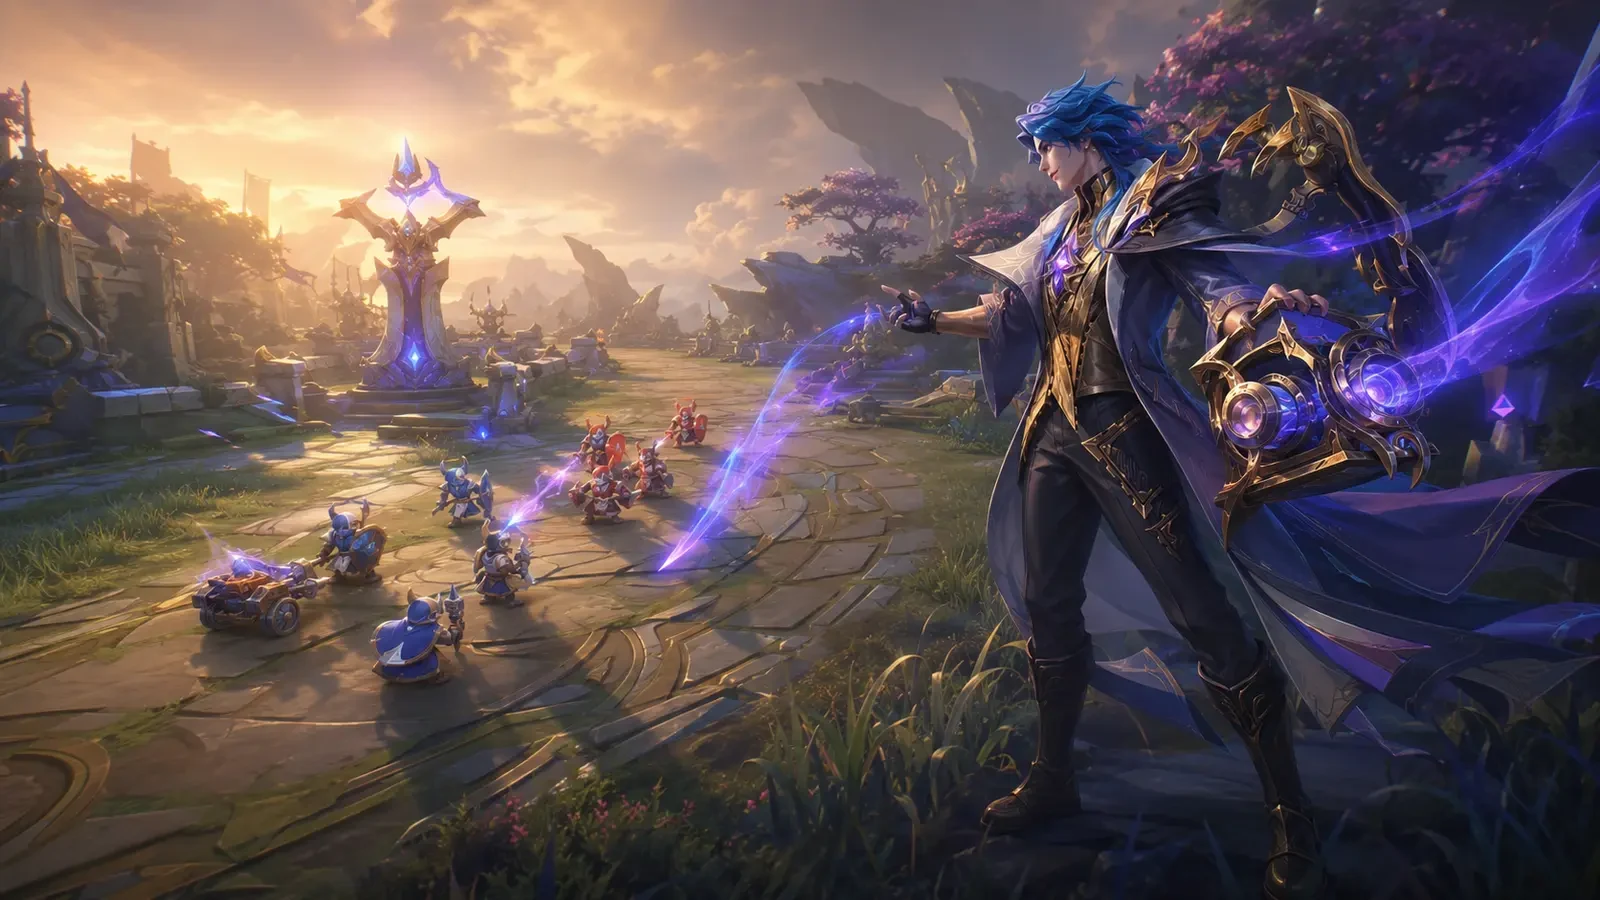
The Gold Lane is where patience becomes damage. A strong laner does not need to win every trade or chase every low-health opponent. The real job is to collect reliable farm, deny easy pressure, reach useful item timings and arrive at team fights from a position that keeps damage flowing.
This guide focuses on decisions that remain useful across balance updates: controlling minion waves, reading the minimap, choosing safe recall windows, rotating with purpose and positioning around teammates. Hero numbers and item builds can change, but these habits continue to separate dependable Gold Laners from players who rely on risky mechanics alone.
Understand the Gold Laner’s Real Job
Gold Lane is commonly associated with marksmen, although the exact hero pool can shift with the metagame. Whatever you pick, the role usually asks you to become a dependable source of sustained damage without handing the enemy easy kills during the vulnerable early game.
That creates three priorities. First, protect your income by staying in range of safe farm. Second, track threats that can reach your lane. Third, convert your power into turret pressure, objective control or team-fight damage when the map allows it.
A kill is useful, but it is not the only sign of a winning lane. If you keep your turret healthy, collect more waves and force the enemy to spend time defending, you are creating an advantage even when the scoreboard looks quiet.
A simple priority order
- Stay alive and collect the wave.
- Protect the turret when it is safe to do so.
- Trade only when the enemy cannot punish you easily.
- Rotate after preparing the lane, not before.
- Use your item advantage to help secure the next important play.
Start Every Wave With a Plan
Do not attack minions automatically. Before the wave meets, decide what you want the lane to look like roughly twenty seconds later. Your choice should depend on the visible enemies, your matchup, your health, your battle spell and whether teammates are moving toward your side of the map.
There are three practical states to learn. A neutral wave sits around the normal meeting point. A held wave stays closer to your side, giving you more room to retreat. A pushed wave moves toward the enemy turret, creating a window to recall, pressure the structure or briefly leave the lane.
When to keep the wave close
- The opposing jungler or roamer is missing.
- Your hero is weaker before the first important item.
- Your battle spell is unavailable.
- Your team is not positioned to respond to a dive.
- The enemy laner must walk forward to collect farm.
Keeping the wave near your turret does not mean standing under the turret forever. Trim the enemy wave carefully so it does not become too large. Your goal is a manageable lane that gives you space to farm and makes an aggressive opponent expose themselves.
Push With a Reason, Not From Habit
Fast clearing is valuable when it buys time. After pushing a wave into the enemy turret, you can check nearby vision, help a teammate, take a safe recall or damage the turret if the map is clear. If you push without using that time, you simply move farther from safety.
Before committing to a fast clear, glance at the minimap. Count visible opponents and identify who can reach you quickly. If several enemies are missing, a slow and controlled clear is usually better than walking into the open lane for one more basic attack.
Good reasons to clear quickly
- You need a clean recall before a major objective.
- Your jungler and roamer are approaching for a coordinated play.
- The enemy Gold Laner has recalled and cannot contest the wave.
- You can safely pressure the turret while threats show elsewhere.
- Your team needs you to move after the wave reaches the enemy side.
Do not chase through the jungle after pushing unless your information is strong. The small lead from a wave can disappear instantly if you walk into an unseen crowd-control chain.
Trade Around Minions and Cooldowns
A good lane trade is not simply “deal more damage.” It is an exchange that leaves you able to farm the next wave safely. Watch when the opponent uses a key skill on minions, misses a control effect or steps away from their support. That is often a better opening than forcing a fight as soon as you enter attack range.
Minions also influence the exchange. Fighting inside a larger enemy wave adds avoidable pressure, while your own larger wave can discourage the opponent from extending the trade. Position at an angle that lets you threaten the hero without giving up several last hits.
After winning a trade, resist the urge to chase automatically. Reset your position, collect the wave and check the river. Controlled advantages are easier to repeat than low-percentage dives.
Use a three-question trade check
- Where are the enemy jungler and roamer?
- Which important abilities are available on both sides?
- Will this trade cost me more farm than it costs the opponent?
Read the Minimap Before the Fight Reaches You
Gold Lane attracts attention because shutting down a scaling damage dealer can change the match. Build a habit of checking the minimap between attacks rather than waiting for a warning ping. When an enemy disappears from Mid Lane or the nearby river, move toward the safer side of your lane and stop spending mobility skills carelessly.
Information from the opposite side matters too. If the enemy jungler appears far away, you may have a short window to pressure. Use that window efficiently, but remember that teleport-like skills, fast roamers and concealed routes can shorten your safe time.
Your camera can provide details the minimap cannot. Briefly drag it toward an approaching fight to see health bars, crowd-control usage and escape routes. Decide whether your movement will add useful damage or merely turn one defeated teammate into two.
Recall Without Donating a Wave
A recall is strongest when the enemy must deal with a pushed wave while you shop. Clear safely, make sure your minions will reach the opposing side, then recall from a protected location. You should return with resources and enough time to meet the next important wave.
If you are low on health and the map is dangerous, do not stay only to create a perfect recall. Losing part of a wave is better than giving away a kill, turret damage and the wave together. The best decision is the one that protects the most value, not the one that looks mechanically brave.
Plan purchases around what the next fight requires. Damage is important, but survivability, movement and the ability to keep attacking can be worth more than a greedy component when the enemy composition can reach you easily.
Rotate After You Prepare the Lane
Leaving Gold Lane at the wrong time gives the opponent free farm and turret pressure. Before rotating, push the wave far enough that the enemy must respond. Then choose the shortest safe route and set a clear limit on how long you will be away.
A useful rotation should connect to something specific: an objective, a numerical advantage, a turret trade or a teammate already controlling the area. Wandering through Mid Lane without a target often costs more gold than it creates.
Stay in lane when
- A large wave is approaching your turret.
- The fight is already lost before you can arrive.
- The enemy can take your turret while you travel.
- You have no safe path and key opponents are missing.
Rotate when
- Your wave has reached the enemy side.
- Your presence creates a clear numbers advantage.
- A major neutral objective is about to be contested.
- Your outer turret is gone and another lane offers safer farm.
Turn Item Timings Into Map Pressure
An item is only a power spike when you use it. After completing an important purchase, tell your team and look at the next wave and objective. You may be able to contest space that was previously dangerous, force the enemy laner to farm defensively or join a fight with a temporary advantage.
Do not treat every completed item as permission to duel. Compare full conditions: levels, health, spells, nearby teammates and enemy control tools. Gold Laners often win by attacking the correct target safely for several seconds, not by reaching the enemy back line first.
If the enemy completes a major item before you, reduce unnecessary trades and protect your farm. A small temporary disadvantage is recoverable. Repeated deaths while trying to prove the matchup is not.
Position for Consistent Team-Fight Damage
Before a fight begins, identify the enemy abilities that can stop you. Stand where a tank, fighter or support can create space, and keep a route open toward safety. Avoid narrow entrances when the enemy has strong area control, and do not reveal your position early if doing so invites a dive.
The closest safe target is usually the correct target. Moving past the front line to reach a low-health damage dealer can place you inside every enemy skill. Continue dealing damage while preserving distance; switch targets only when the path is safe or your team has already controlled the threat.
A dependable positioning checklist
- Keep an ally or terrain between you and the main engager.
- Save mobility or defensive tools for real threats.
- Move after each attack when your hero’s mechanics allow it.
- Do not stand directly beside teammates against area damage.
- Reposition when key enemies disappear from vision.
Common Gold Lane Mistakes to Remove
| Mistake | Why it hurts | Better habit |
|---|---|---|
| Clearing every wave instantly | It exposes you without always creating value. | Choose the wave state before attacking. |
| Chasing after a good trade | You may lose farm or enter a gank path. | Secure the wave and reset your position. |
| Rotating through darkness | A short route can become an easy ambush. | Use visible teammates and safer paths. |
| Focusing only on kills | Turrets, waves and objectives may be ignored. | Convert pressure into lasting map value. |
| Attacking the back line at any cost | You step past protection and lose uptime. | Damage the closest safe target first. |
A Practical Routine for Ranked Matches
Use the same short routine until it becomes automatic. Before each wave, check missing enemies and decide whether to hold or push. During the wave, protect last hits and trade only around clear openings. After the wave, choose one action: pressure, gather information, recall or rotate.
Before every objective, prepare the nearest lane, shop if possible and arrive from a safe angle. During the fight, track the main enemy engager and keep dealing damage without stepping beyond your team’s protection. After the fight, take the safest available reward instead of chasing indefinitely.
You do not need a perfect game. Reducing one avoidable death, collecting one extra wave and reaching one fight on time can change the result. Review those decisions after the match, then improve one habit at a time.
Final Takeaway
Reliable Gold Lane play is built on controlled income and disciplined positioning. Manage waves with a purpose, respect missing opponents, recall on sensible timings and rotate only when the lane is prepared. When team fights begin, value continuous safe damage over highlight-seeking dives.
Hero picks and builds will evolve, so always check the current in-game descriptions and official update notes. The decision-making framework in this guide gives you a stable foundation that can adapt with them.
Top Up Your Favourite Games
If you're looking for a trusted place to top up your favourite games including Free Fire, PUBG Mobile, Mobile Legends, Blood Strike, and Call of Duty, visit HTGTopUp.com for fast digital game top-up services. Website: https://htgtopup.com.