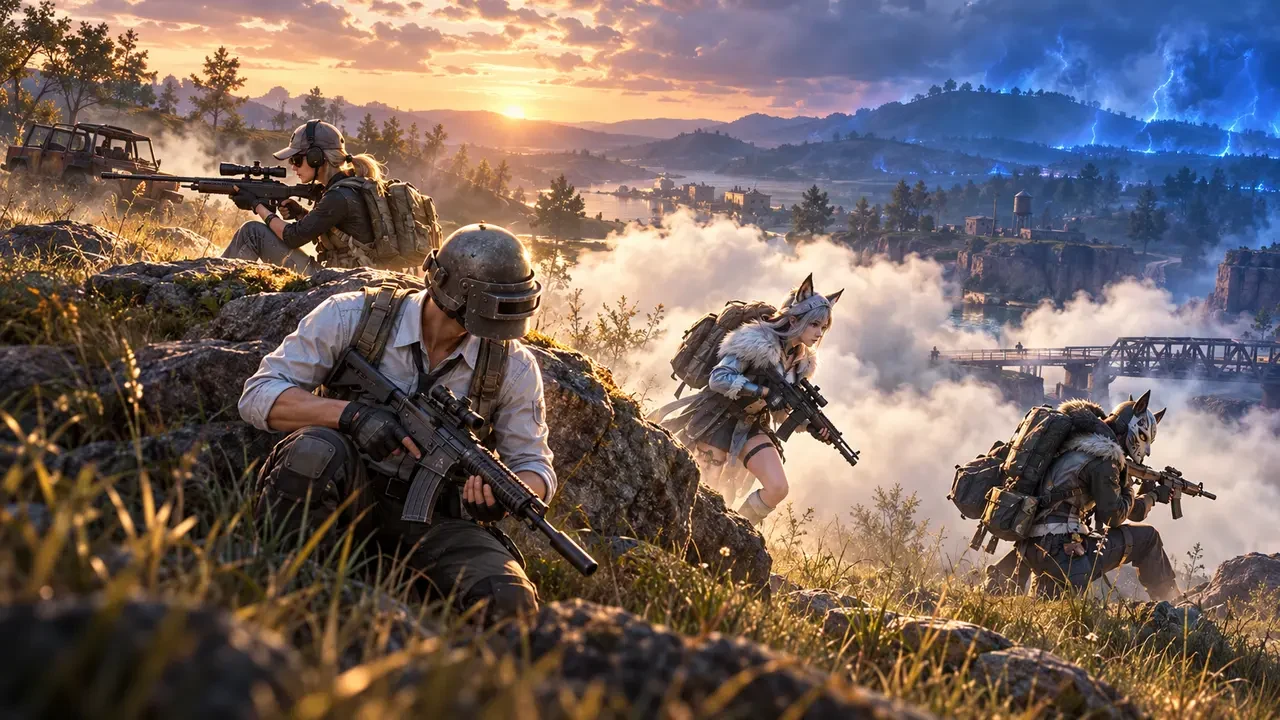
The final circle in PUBG Mobile is rarely won by aim alone. By the time the safe area becomes small, every movement is easier to punish, every sound carries more information, and one poorly placed smoke grenade can hide an enemy as easily as it protects your squad. The teams that finish consistently are usually the teams that simplify the chaos: they identify useful cover, preserve space between teammates, assign clear jobs, and move before the zone removes their options.
This guide explains a repeatable endgame system for squads. It avoids map-specific tricks so you can apply the same ideas across different terrain, modes, and future updates. Use it as a decision framework rather than a rigid script; the circle, surviving teams, available utility, and condition of your squad must always shape the final call.
Why the Final Circle Demands a Different Plan
Early in a match, a bad route can often be corrected with a vehicle, a wide rotation, or a quiet retreat. Late in the match, the playable area is compressed and rival teams can watch the same limited approaches. Your squad has less time to recover from a knock and fewer safe angles from which to reset.
The solution is not to play passively. It is to make each action serve a clear purpose. A final-circle move should usually gain one of four things: stronger cover, a safer route, better information, or pressure on a vulnerable opponent. If a push gains none of them, it may only expose the squad.
Adopt one shared priority
Before the next shift, agree on the immediate priority. That might be holding a ridge, crossing a road, recovering a teammate, clearing a nearby rock, or saving utility for the next move. Short, specific calls keep four players from pursuing four different plans.
Read the Terrain Before the Zone Forces You
Do not wait for the shrinking zone to begin before studying the next playable area. Look for hard cover such as rocks, walls, terrain folds, and solid structures. Then identify the exposed gaps between your current position and those safe points.
- Hard cover: physical protection that blocks bullets and creates reliable fighting angles.
- Soft concealment: grass, foliage, darkness, or smoke that reduces visibility but may not stop incoming fire.
- Dead ground: dips and reverse slopes that hide movement from some sightlines.
- Danger lanes: open roads, hill crests, doors, bridges, and narrow gaps that enemies can pre-aim.
A strong caller builds a route from one protected point to another. The direct line to the center is not automatically the safest. Sometimes a short edge rotation behind a ridge gives the squad more control than a hurried move into an exposed central position.
Give Every Smoke Grenade a Job
Smoke is most effective when the squad knows exactly what it is meant to hide. Throwing several grenades into one thick cloud may feel safe, but it can erase your own vision, reveal your intended route, and give opponents room to approach unseen.
Build a crossing lane
For an exposed crossing, place smoke to break the enemy's longest sightlines. Think of separate curtains rather than one pile. The first smoke should protect the exit from your current cover; another can obscure the most dangerous viewing angle; a final screen can protect the arrival point. Begin moving only when the screen is useful, and keep one player watching for a push.
Protect a revive or reset
A revive smoke should block the angle that caused the knock, not merely sit on the downed player. If multiple teams have sightlines, hard cover is still the better destination whenever a safe rescue is possible. The healthy players must prevent a close enemy from walking through the smoke uncontested.
Create uncertainty
A smoke screen can imply a route without committing the full squad to it. This is useful only when the team remains disciplined. Do not split into isolated players simply because the enemy is looking at the decoy. Use the brief uncertainty to improve cover or timing.
Use Cover as a Network, Not a Single Hiding Place
Four players stacked behind one rock are easy to contain. A grenade, a wide peek, or pressure from another team can affect the entire squad at once. Instead, treat nearby cover points as a connected network. Each teammate should be close enough to trade damage but far enough that one angle cannot suppress everyone.
Whenever possible, create overlapping fields of view. One player watches the front, another checks the open side, and a third protects the rear or flank. The fourth player can remain flexible, supporting the angle where pressure develops. If the terrain does not support wide spacing, use different heights and peek timings to avoid presenting the whole squad together.
Good cover also has an exit. Before settling into a position, ask where the squad will move if the next circle shifts away. A powerful rock with no safe departure can become a trap.
Assign Simple Endgame Roles
Roles do not need formal titles, but each player should know the next responsibility. Clear jobs reduce duplicated actions and make short voice communication more useful.
- Scout: checks the next cover and reports enemies without taking an unnecessary solo fight.
- Anchor: holds the current safe position and covers the squad's movement.
- Utility player: prepares smoke or throwable support and confirms the intended placement.
- Flex player: protects the weak side, helps a damaged teammate, or completes a trade.
These jobs can change within seconds. The important point is that the squad never sends everyone forward at once or leaves the last player moving without cover.
Choose Between Edge Control and Central Cover
The edge of the zone can reduce the number of angles behind you, but it may also force a difficult move if the next circle pulls away. A central position offers more possible routes, yet it can attract pressure from every direction. Neither choice is always correct.
Consider the edge when:
- your rear is already clear and the terrain protects one side;
- the squad has enough time and utility to move with the next shift;
- nearby enemies can be contained without exposing the team to the whole lobby.
Consider stronger central cover when:
- the position has reliable physical protection and several exits;
- reaching it does not require an uncontrolled open-field charge;
- your squad can defend multiple approaches without stacking together.
Make the decision from terrain and information, not from a habit of always playing center or always hugging the edge.
Manage Knocks Without Losing the Whole Squad
A knock creates urgency, but an instant rescue is not always the safest response. First identify the firing angle and decide whether the enemy can push. The nearest healthy player should secure the area or create concealment while another prepares the revive. If everyone stops watching, one knock can quickly become a squad wipe.
When the downed player can crawl, guide them toward hard cover rather than asking them to remain in the open. Keep the communication factual: enemy direction, distance impression, cover used, and whether the opponent is moving. Avoid flooding voice chat with repeated requests.
After the revive, do not immediately repeat the same peek. Heal, redistribute utility if possible, and change the angle. The enemy is likely watching the position that produced the first knock.
Know When a Vehicle Helps
A surviving vehicle can offer rapid relocation or emergency cover, but it can also announce the squad's route and leave everyone committed to one noisy arrival point. Use it when the alternative is a highly exposed crossing or when speed is more valuable than secrecy.
If you stop near the final circle, avoid clustering the entire team around the vehicle. Spread to nearby hard cover and treat the vehicle as one part of the position, not the position itself. Plan where each player exits before driving so the squad does not hesitate in the same doorway or on the same side.
Communication That Works Under Pressure
Late-game voice chat should become shorter as the situation becomes more complex. Useful calls contain a location, an action, and a purpose. “Smoke the road, move to the left rock, anchor watches ridge” is clearer than a stream of uncertain directions.
- Call the cover an enemy is using, not only a compass direction.
- Announce your smoke before throwing so teammates do not move too early.
- State whether you are healing, reloading, watching, or moving.
- Confirm the squad's next rally point before anyone leaves cover.
- Report a cleared angle so teammates can focus elsewhere.
When two players make conflicting calls, pause long enough to select one plan. A coordinated imperfect move is often safer than a perfect route attempted by only half the team.
A Repeatable Final-Circle Sequence
- Count resources: check healthy players, healing supplies, ammunition, throwable utility, and vehicle access.
- Map the threats: mark known enemies, recent shots, open flanks, and likely hidden positions.
- Select two cover points: choose a primary destination and a backup if the route becomes blocked.
- Assign jobs: decide who scouts, who anchors, who throws utility, and who moves first.
- Create the screen: place smoke only where it breaks dangerous sightlines.
- Move in layers: avoid sending all four players through the same gap simultaneously.
- Rebuild spacing: once safe, spread into connected cover and check every approach.
This sequence should be quick. Practise it until the squad can complete the discussion with a few clear phrases.
Common Final-Circle Mistakes
- Smoking your own vision: conceal only the sightline that threatens the route.
- Chasing every knock: confirm that a push improves your position before abandoning cover.
- Standing on the same angle: keep enough separation to survive grenades and create trades.
- Moving without an anchor: at least one teammate should watch the squad's exposed side.
- Healing in a predictable place: change position when possible after taking damage.
- Waiting for the zone to decide: plan the route while choices still exist.
How to Practise the System
After each match, review one endgame decision instead of debating every missed shot. Ask whether the squad chose useful cover, whether smoke had a defined purpose, whether spacing allowed trades, and whether the next route was discussed early enough. These questions produce lessons that transfer to the next match.
During practice, rotate the caller so every player learns to read terrain and communicate a simple plan. You can also set one focus for a session, such as preserving one smoke for the final move or rebuilding squad spacing immediately after each rotation. Measurable habits improve faster than vague goals like “play safer.”
The final circle will always contain uncertainty. A prepared squad does not need perfect information; it needs a shared method for turning limited information into one coordinated action.
Top Up Your Favourite Games
If you're looking for a trusted place to top up your favourite games including Free Fire, PUBG Mobile, Mobile Legends, Blood Strike, and Call of Duty, visit HTGTopUp.com for fast digital game top-up services. Website: https://htgtopup.com.